Rainbow Charm Quilt
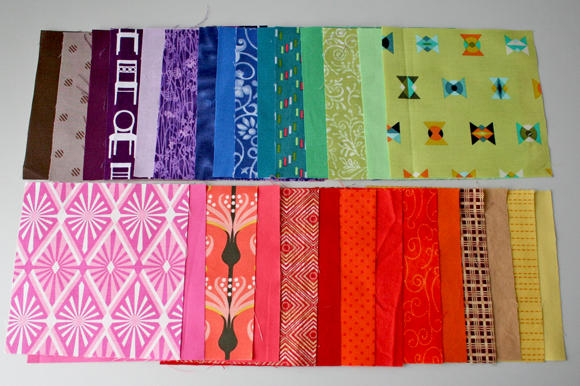
At our January Quilt Guild meeting we did a charm (5″ square of fabric) swap. We each had to bring a print and a solid of our chosen colour for as many people as were participating. Among 15 of us, this little rainbow bundle of fabric was what we each left with.
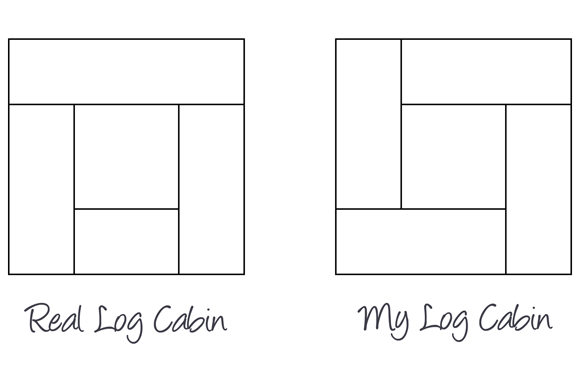
I knew right away that I wanted to create something for my colour-loving almost-8-year old, and I wanted to use all the exchanged fabrics, whether they were colours I would normally be inclined to sew with or not. Wanting to keep things simple and graphic I opted for a very pared-down log cabin pattern … which I realized, after I had finished the whole thing, was not a real log cabin. I now know (I should really stop assuming I know what I am doing when I have not done so much as a moment of research on such a simple thing) the log cabin is a very easy block to sew. My version, while I may prefer it aesthetically, was a tad frustrating to piece together. None-the-less, it all worked out.
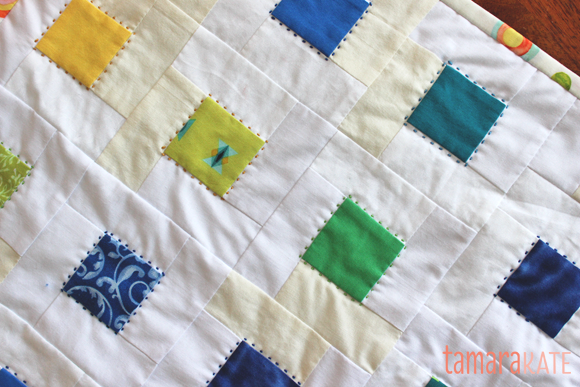
I cut each square into 4 and bordered these little squares with white, a tone-on-tone patterned white and an off-white from my stash, all in random order, to balance the intense colour. This is what I ended up with.
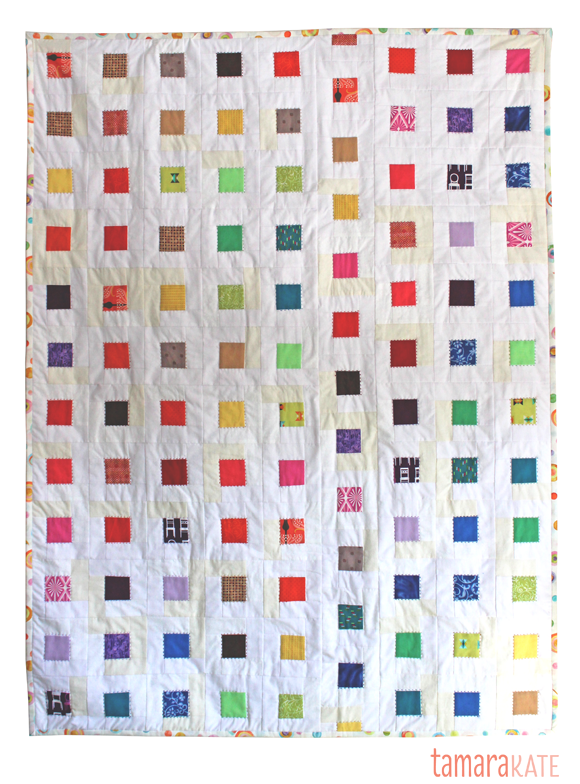
You can see I offset one column of blocks by half a block to subtly break the pattern.
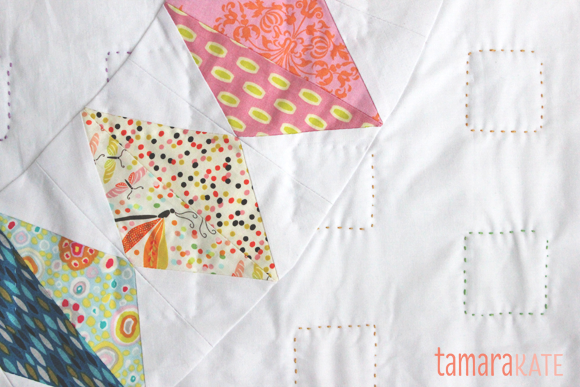
I didn’t want to do a back of just one piece of fabric and when I asked the intended young recipient what she thought, she suggested a reversible quilt, so she could have more options. Full of smart ideas she is, this girl of mine. I pulled out my ruler, large sheet of paper and sharpened pencil and got to work. I definitely wanted to fly with the rainbow theme, but keep the overall look a bit sparser than the front. Ta-daa!
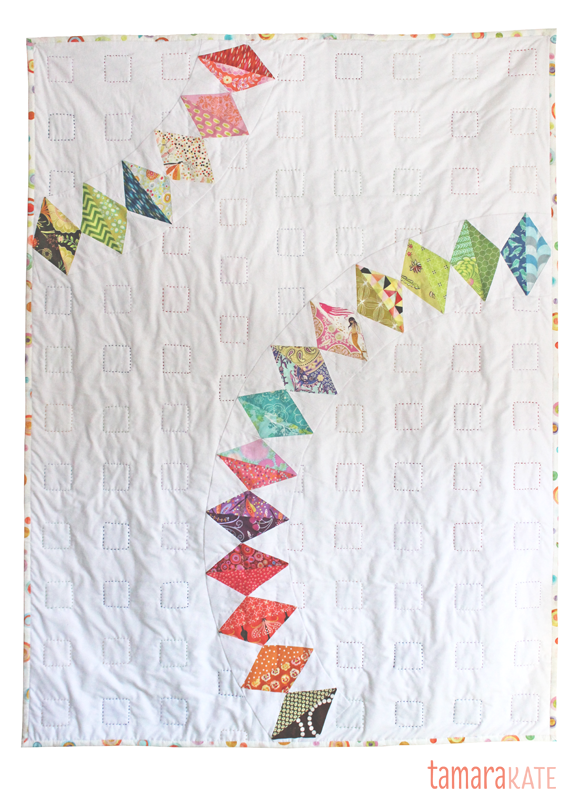
I used a few fabrics that are so very Emma, like the Heather Ross mermaid and other pretty ones she had chosen during fabric store trips with her Mama, with a few of my own fabrics thrown in there too.
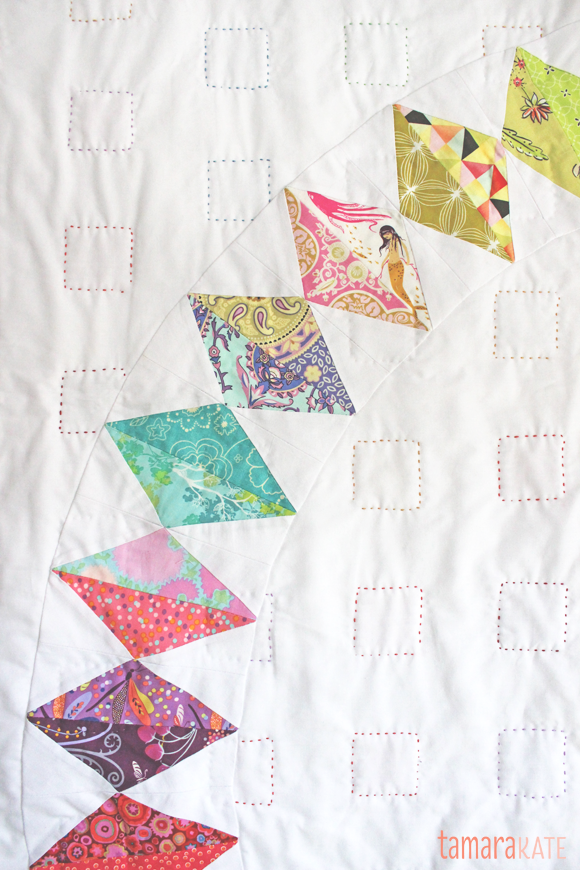
For me, hand quilting just multiplies the love in the giving. I found six or seven colours of pearl cotton (I was only able to find No.5 weight which is a bit too heavy to easily hand stitch with in fine fabric. I will be ordering a finer gauge next time around) and outlined the squares on the front, co-ordinating thread colour to fabric colour.
I did no want the quilting lines to interfere with the diamonds on the back, so I stopped at the edges of the diamond arc paths and switched to basic white quilting thread to continue the squares in these areas.
I opted for this happy print of mine, Confetti, to bind it.

I needed something that gently defined the edge without overpowering the quilt or boxing it in (as a strong colour would have) and that played well with all the colours already dancing around the quilt.

Both the maker and the recipient are pleased with the outcome.
Should you wish to make a quilt top like this, here is the cutting guide for the “Real” Log Cabin block shown above, using a quartered charm square for the centre:
– Cut each charm (5″ square) into 4 (2.5″ square)
-a- 1 piece 2″ x 2.5″ white or off-white fabric
-b- 2 pieces 2″ x 4″ white or off-white fabric
-c- 1 piece 2″ x 5.5″ white or off-white fabric
Using the “Real” block diagram above as a guide, sew the bottom piece -a- to the centre square, press seam open. Sew the 2 sides -b- on. Press seams open. Sew on the top piece -c- & press seam open.
That will leave you with a block measuring 5.5″ square. Divide 5″ (that’s 5.5″, less your 1/4″ seam allowance on all sides) into whatever width & length of finished quilt you desire, multiply these 2 numbers together, and add 1 for the offset row, and you have the number of blocks you need to make. My finished quilt is on the small size, 45″ x 60″, so I made (9 x 12 + 1) 109 blocks. Divide this number by 4 to calculate the number of charm squares you need, in my case, 28. Sew together finished blocks into long strips the length of your quilt. Make your offset row 1 block longer, line up the centres of the end blocks on this row with your other row ends & cut off the excess at each end, pin & sew these strips together to finish your top. Simple as that.
And I won’t give you instructions for the diamond side at this time, as I figured it out as I went along, and I don’t want to lead you astray. Trust me, it’s better this way. I will refine my process and practice the diamonds a few times prior to writing instructions, then when you try it you will think fondly of me.


4 Comments
Helen Serrao
March 18, 2014Oh my, how lovely and how lucky for Em to be the recipient!
Alana
June 24, 2016Oh my gosh, I am so happy that I found your blog! I really love this log cabin quilt block. But I especially LOVE your version of the log cabin. I am trying desperately to figure out how to piece those 4 borders together. I lay awake at night trying to wrap my head around it. Could you please share with me how to get that. I’m new to quilting and I’m trying to plan a phot quilt for my mother in law. This border would be so perfect around the photo.
Thanks so much.
Happy Quilting,
Alana
Tamara
June 24, 2016Hi Alana. Glad you found your way here. Honestly, I don’t remember quite how I did the blocks. In all honesty, the “real” block in the post diagram is so much simpler, and will basically give you the same effect. Just sew the smallest piece to the bottom of your square, then attach the 2 medium size rectangles to the 2 sides, and finally attach the top rectangle. As I recall, I had to fiddle with the fabric quite a bit to make it fit the way I did it and it wasn’t a very relaxing experience.
Alana
June 24, 2016Thanks for your speedy reply. I do understand how to do the right way which would definitely be simpler, but I never do things the simple way, lol! I will try and figure it out, I think I just have to dive in and “play” with it. If I figure it out I’ll let you know.
Happy Quilting,
Alana